The Craft
Winterizing Your RV
The Complete Cold-Weather Checklist
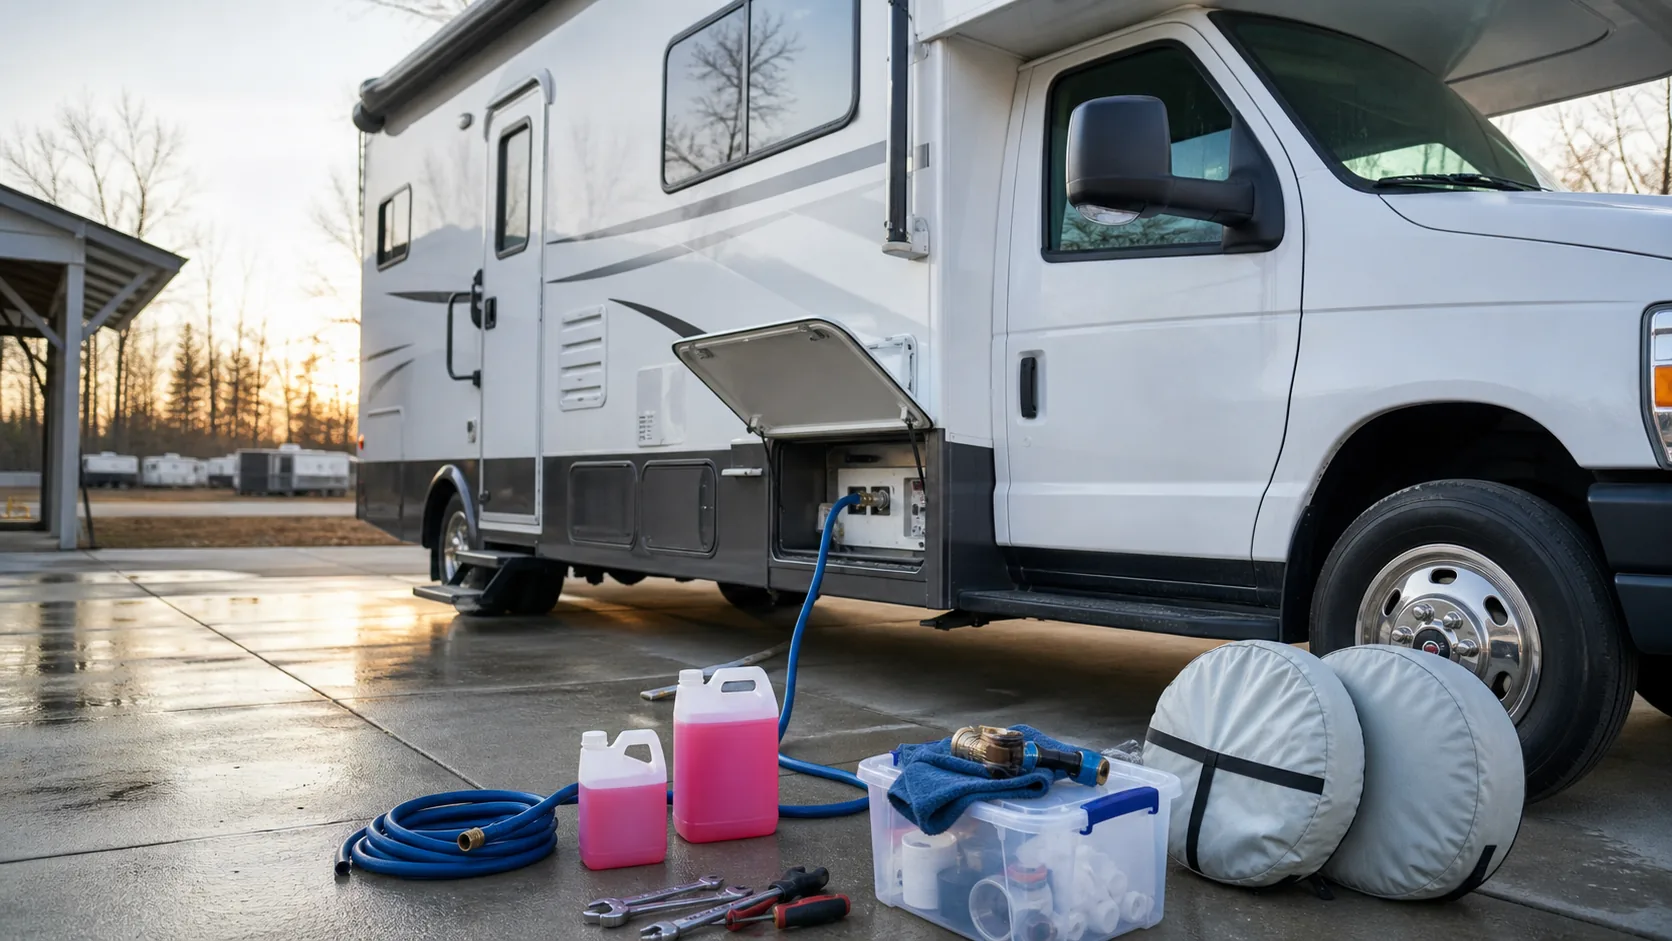
Winterizing an RV isn't about some flamboyant afternoon. It's about ensuring that no water, weak batteries, worn seals or forgotten appliances are left to cope with freezing weather. By spring, a coach may look just as it did in October, while still hiding a cracked fitting, split pump housing, dead battery bank, or musty cabinet. The best winterizing procedure is tedious, disciplined, and tailored to the particular RV: motorhome, fifth wheel, travel trailer, camper van, wet bath van, diesel pusher or anything else in between.
Do Not Use a Generic Checklist as the Starting Point
The water layout varies slightly from RV to RV. The water heater bypass is a factory fit item on some rigs. Others have a tankless water heater and have a different winter routine. Others feature dishwashers, ice makers, washer-dryer prep, Aqua-Hot style hydronic systems, black tank flush connections, outside showers, or additional low-point drains behind a small panel. That is why the owner's manual matters. Check the fresh tank drain, low point hot and cold drains, water pump access, water heater bypass valves and winterizing suction port, if equipped, before draining. If the RV is equipped with a whole house water filter, take out the cartridge prior to pumping antifreeze. If the refrigerator is residential with an ice maker, verify the correct procedure rather than take a guess.
Carefully Empty Water From the System
The first true step is to remove as much water as possible. Empty the fresh tank. Open low point drains. Let faucets run to relieve pressure. Drain the water heater after it has been turned off, cooled and depressurized. Do not leave an electric water heater element on in an empty tank. That is a fast route to a high dollar error. Many RV owners will use compressed air to blow out lines before pumping RV antifreeze. This can be a good idea, but again needs to be done with low pressure and the right adapter. The idea is to get water out, not test all plastic coach parts. While air clearing is effective, RV antifreeze is still used because small pockets, toilet seals, valves and pump chambers can still hold water that causes trouble.
Use RV Antifreeze Where It Belongs
Use RV or marine antifreeze, not auto antifreeze. Do not use automotive coolant in drinking-water systems. Use the winterizing inlet or pump suction hose to pump RV antifreeze through the system. Operate all hot and cold fixtures until pink antifreeze comes out. Add kitchen sink, bathroom sink, shower, toilet, outside shower if one exists, any low point drain outlets, and any other fixtures. Fill sink and shower drains with antifreeze. Remember the toilet bowl seal. In black tank flush systems, inspect them according to the manufacturer's procedures since they can be overlooked. For any RV with tankless water heaters, hydronic systems, macerator toilets, dishwashers, clothes washers, or water softeners, verify the correct procedure before adding antifreeze.
A Plan for Batteries Is Essential
Weak batteries do not like the cold, and batteries that are not disconnected from parasitic loads do not like storage. Lead-acid batteries should be fully charged before storage and tested periodically. Lithium batteries require manufacturer instructions on storage, particularly if freezing temperatures are expected during RV use or storage. Most lithium batteries come with low temperature charging protection, but there are some that do not. Charging incorrectly in cold weather can damage the bank. If the RV is stored on shore power, ensure that the converter or charger is suitable for the battery chemistry and will not overcharge it. When stored off grid, loads must be disconnected correctly and state of charge should be checked periodically.
Tires, Seals and the Coach Body
Damage to tires is another storage issue that goes along with winter storage. Follow up tire inflation as per load and storage guidelines. If the RV will be left for an extended length of time, park it on hard ground and use tire covers if there is abundant sunshine. Don't assume that the tires are fine just because they seem new. Wash down the roof and check sealant around roof vents, antennas, skylights, roof rails and front or rear caps. The shock of water intrusion into storage is one of the largest, as it can go undetected until the damage has occurred. Check all slide seals, door seals, compartment gaskets and window weeps.
Interior Humidity and Pests
Do not leave the inside wet or soiled. Remove food goods from areas, clean surfaces, empty waste receptacles and open refrigerator doors after cleaning. Moisture absorbers can be helpful, but not a solution to wet materials or leaks. Outside walls may be slightly away from cushions for greater airflow. Seal or screen pest entry points, but not in any way that may pose a safety risk in the future for appliances.
Spring Restart
Dewinterizing is more than just adding water and heading for a camp. Run antifreeze out of water system, sanitize fresh tank if needed, change filters, check for pressure leaks, fill water heater before testing, check tires, test batteries, test propane equipment and safety gear, test brakes, lights and hitch gear. If you can't get a lot of spark out of a spring, the winterizing was probably not the most successful.